Most often I'm asked simply what my serger is, even by my friends who are crafty and sewers themselves. I think we've all become pretty sophisticated between information on the web and video tutorials on youtube.com. But knowing and doing are two very separate things. I usually get a, "Oh right - I've heard of those things."
A serger or overlock machine is a machine that produces a stitch that goes over the edge of a fabric, unlike a sewing machine which produces a stitch that runs along the surface of the fabric. And instead of using a top thread(s) and bobbin thread to make lockstitches, it uses top threads and loopers to make the overlock stitch.
In the fashion industry, they're generally referred to as a "Merrow" which is the brand name of a machine. Like referring to a tissue as a Kleenex, or to a carbonated beverage as a Coke. This Wikipedia page has some good info on the history and the differences of all the various terms.
As you can see from the National Serger Month site by Baby Lock, they were the ones to bring this handy machine off of the factory floor and into the home. Because home sewers like variety in their machines, sergers can now perform more than just an overlock stitch. The overlock stitch was its original intention, but has grown from there. Depending on your machine, it can do rolled hems, wave stitches and maybe even a cover stitch (we'll get to that later.)
Is a serger necessary for the home sewer? Definitely not. But if you get one, you'll wonder what you did before. For basic tailoring needs, it's fast and efficient, cutting off and finishing edges in one swoop. And for decorative edges, like rolled hems, the possibilities are endless. However, if you do work primarily with knits, I would say that a serger may be a very good idea. Since knits unravel rather than fray, finishing off the edge is necessary to keep your garment from literally falling apart. Many who work with knits can still do without, but a serger makes it easy.
I've gathered up some serger-related links that I think you'll find helpful and fun:
General Information:
National Serger Month's website: all about sergers and free, fun projects!
Threads Magazine: see how they're celebrating this month with giveaways, etc.
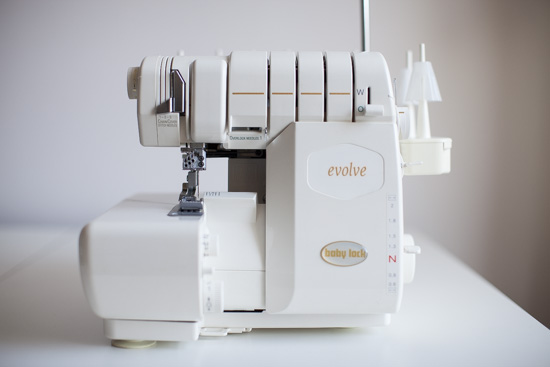
Baby Lock: I personally love my Baby Lock Evolve. It's rock solid and has automatic jet-air threading. What more can I say?
Brother: For less expensive options, and machines with a great reputation, check these out.
Tips & Techniques:
Nancy Zieman TV: Nancy is host of the longest running sewing television program, Sewing with Nancy. She's also a spokesperson for Baby Lock. Great video clips of serger projects and more.
Make It & Love It: nice post about serger shopping and clear pictures and instructions to get anyone started.
Craftsy Blog: great pics showing off different stitches.
One Little Minute & MadMim: back in January of 2013, these two bloggers did an entire series called Stretch Yourself. Sponsored by Baby Lock, it covers sewing knits in general, and goes quite in depth about sergers.
It's Sew Easy with Amy Alan: this video is from the TV show It's Sew Easy. Amy Alan walks you through some basics with her clear, thorough instructions. She is also the teacher of Beginner Serging on Craftsy.
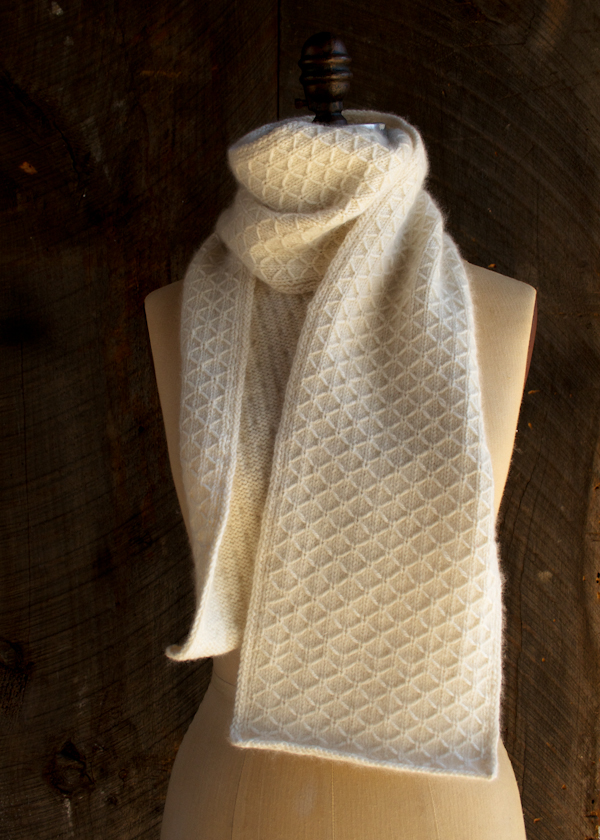
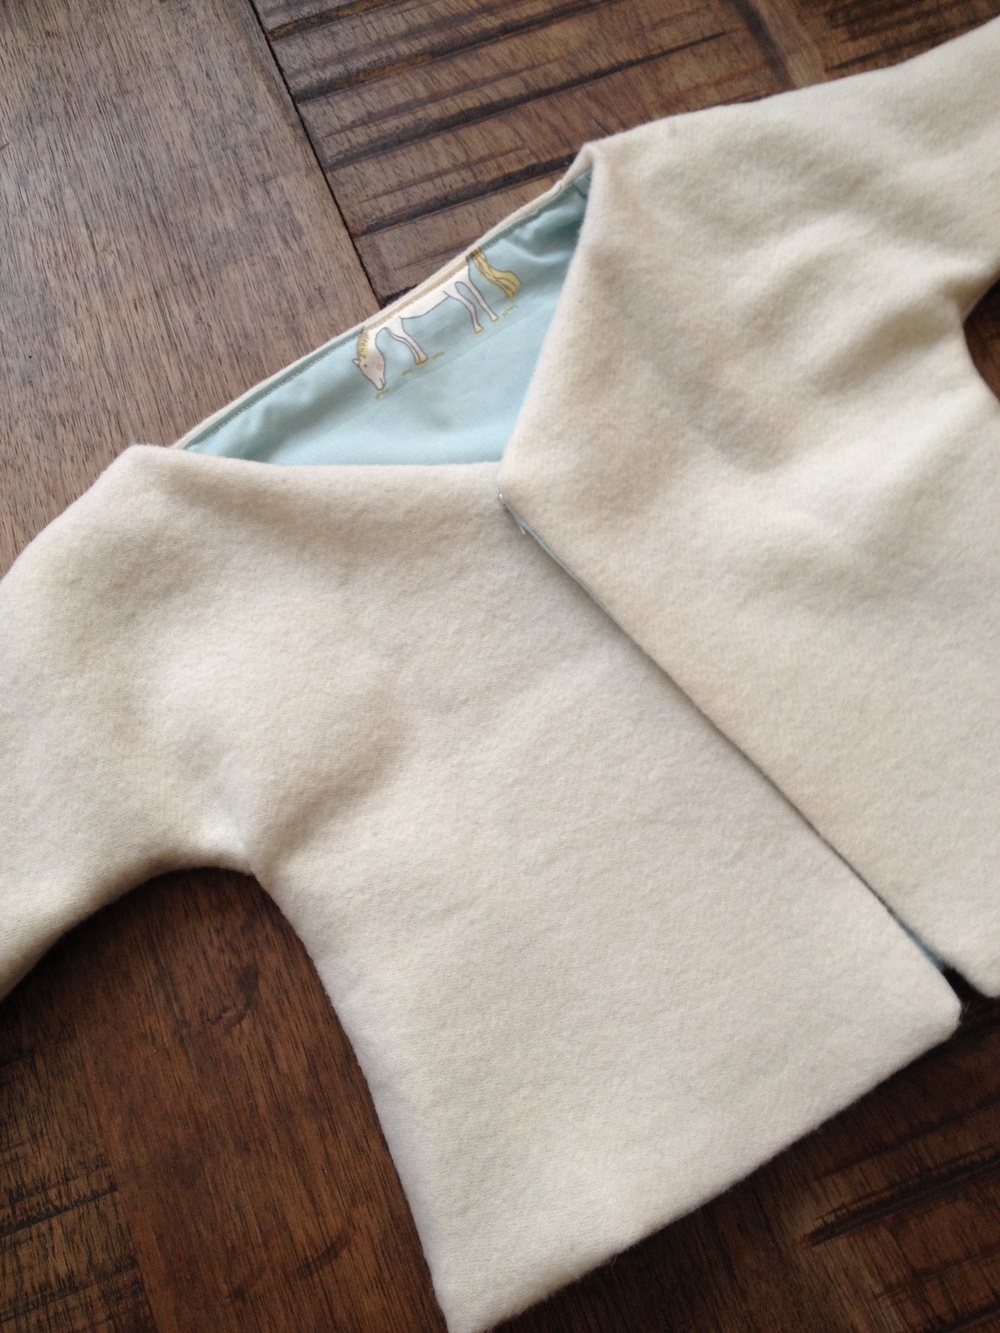
Next up: The Start of my Serger Project - The Robe Cardigan